When I arrived, other team members were already here and had unpacked and organized the lab, and started the instrument assembly. There are two main parts to our payload: the “cryostat”, which contains the telescopes and detectors, and the “gondola”, which points the telescopes in the right direction and handles data archiving and communications with the ground.
The early focus was on getting the cryostat together, because it takes a long time to cool it down, and we wanted that to begin as soon as possible. The “camera team” had already assembled the six millimeter-wave cameras… which slide into six “ports” in the large cryostat that cools them with liquid Helium.
Here is a picture of Lorenzo (Caltech postdoc) and Sasha (Princeton grad student) plugging in the fourth camera.
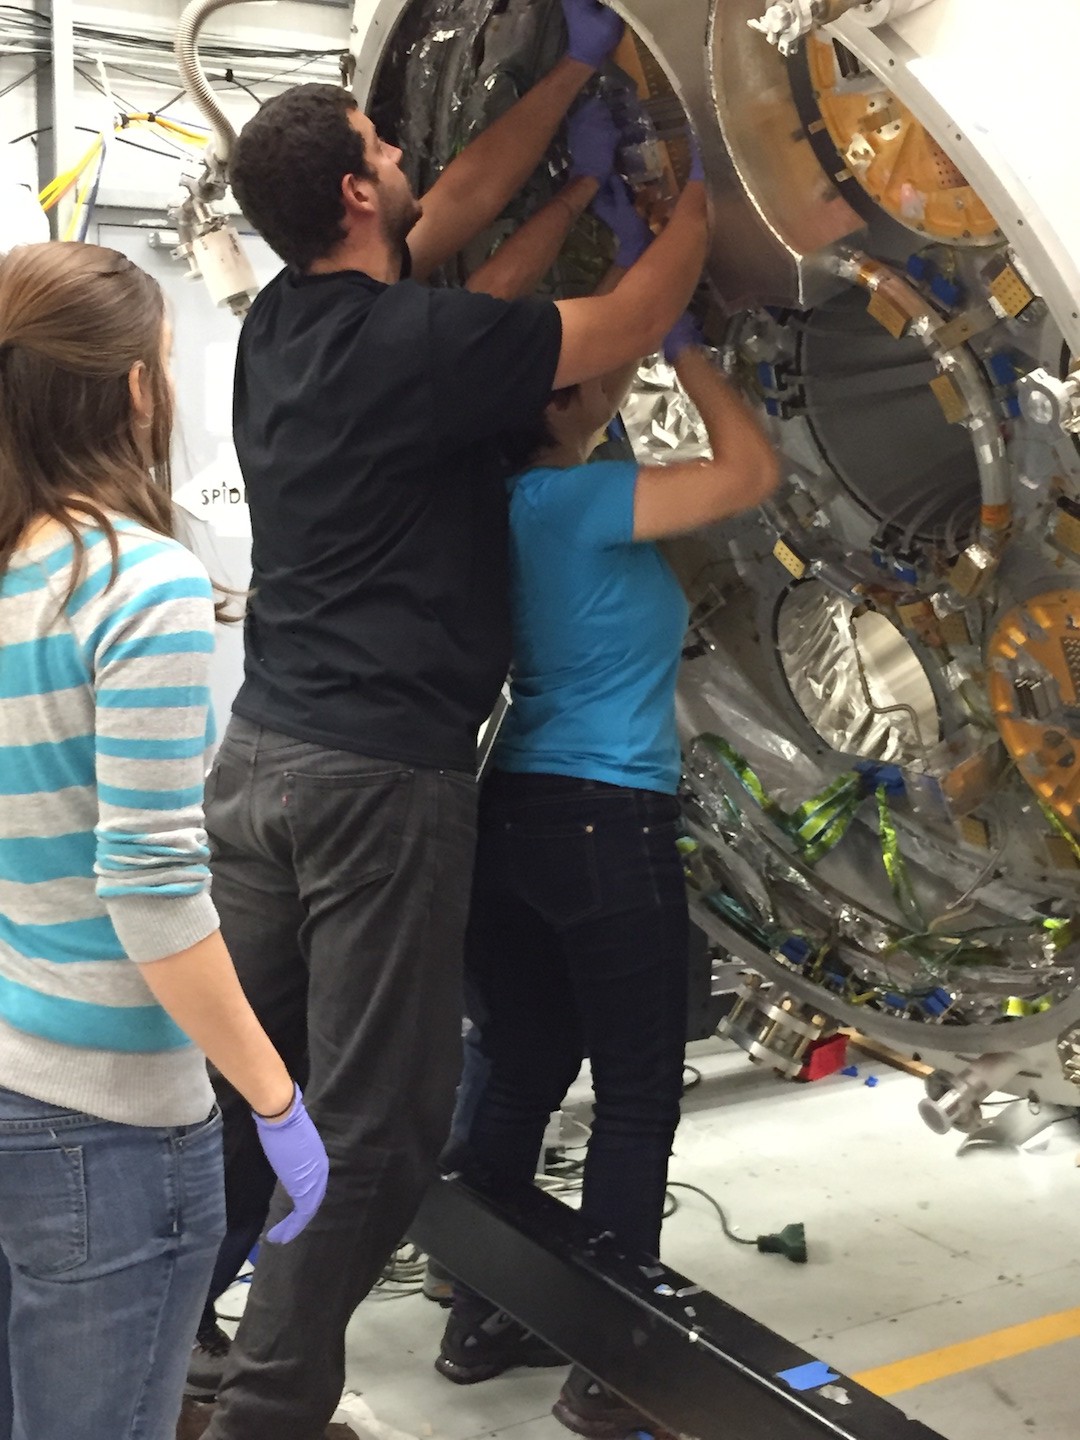
Putting them all in involves a lot of electrical connections, screwing down copper thermal straps, taping down wires, etc. The next picture shows the bottom of the cryostat with all six cameras plugged in.
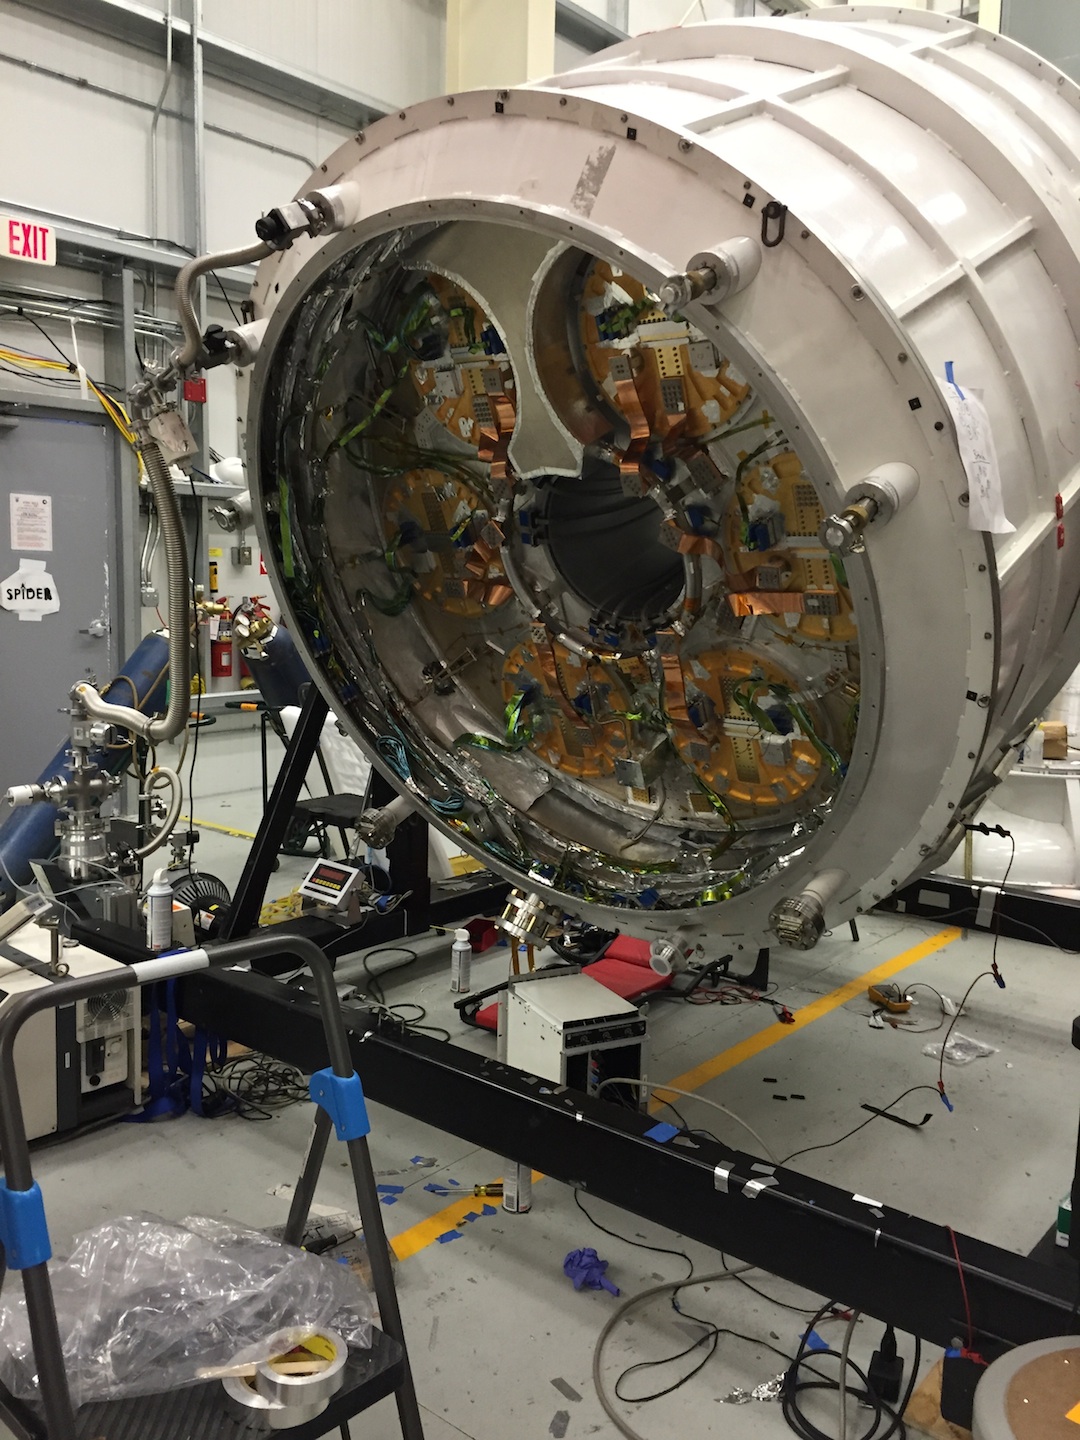
The center “hole” in the cryostat looks like it could take another camera… we use it to send electrical wires from the bottom of the cryostat up to the top. We often thought about mounting a 7th camera in there, but in reality we’re right near the payload limit, and we can’t have another 120lbs of camera, plus more electronics!
While the camera team was busy putting those in, our group from Case was working hard getting our sapphire “halfwave plates” (optical elements that change our polarization sensitivity) assembled and installed on the other end of the cryostat. The single-crystal sapphires used for this are about 13″ in diameter, and a few millimeters thick… and cost about $10K each! Here’s a picture of Johanna (Case graduate student) assembling one of our rotation mechanisms, which rotate the waveplates inside the cryostat, at 4 Kelvin.
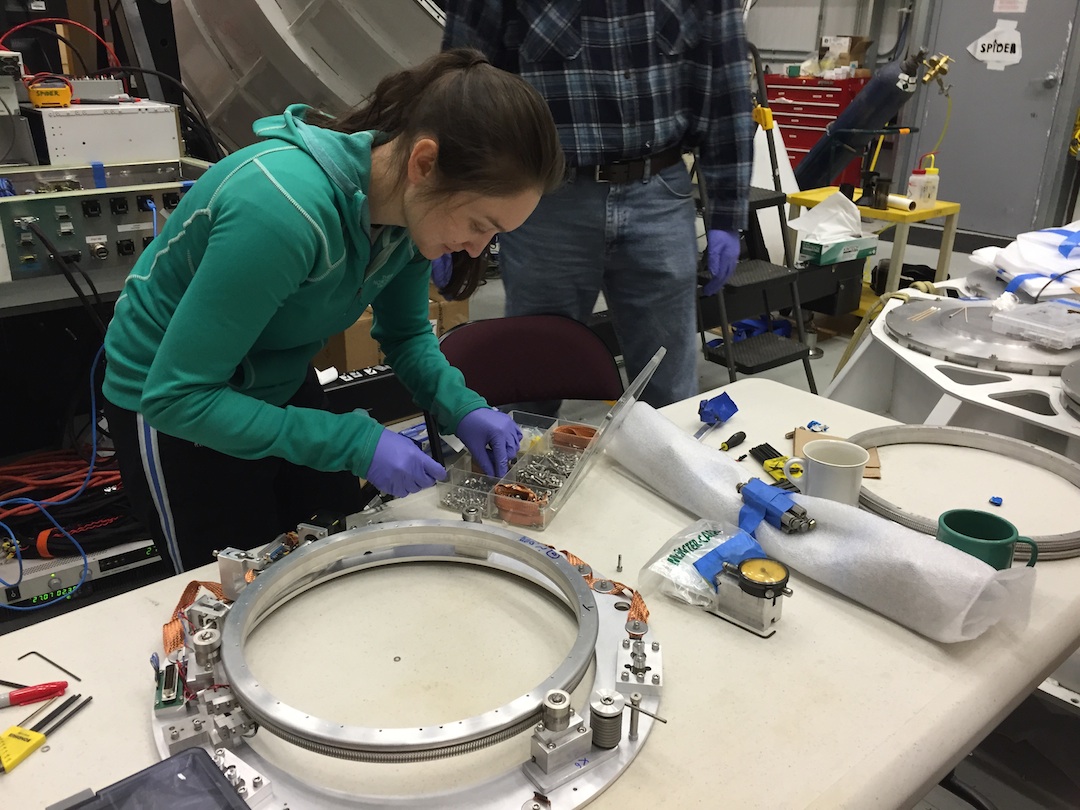
It turns out that it’s been tricky to get those rotation mechanisms to work well, so we’ve implemented a few tricks just for this cooldown; we’re keeping our fingers crossed, hoping everything works well.
Here’s a picture of the top of the cryostat, which is the “sky side” of all the cameras, after we got all the waveplates installed. The dark waveplates are used for the cameras that are sensitive to light that is 2mm in wavelength; the white-ish ones are for the cameras that are sensitive to 3mm wavelength light. The color difference is due to the different materials we used to antireflection coat the (otherwise very reflective) sapphire at those two wavelengths.

After all that work, there was a long, 2-day effort to close up the cryostat so we can pump out all the air and then cool it down. It turns out that we have to do a bunch of cycles where we pump out the air, then fill up the cryostat with nitrogen gas, pump again… and repeat. This gets rid of water vapor and any helium gas in the vacuum space of the cryostat, which is important in helping us achieve our hoped-for 20-day lifetime for the liquid helium bath, so we can get lots of data once we launch.
That’s where we are now… pumping and purging… with gondola assembly going on as well, but that’s another post!