Monthly Archives: November 2014

Obs Tube

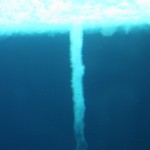
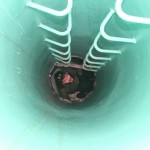
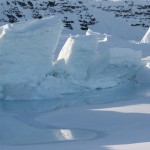
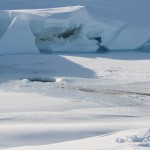
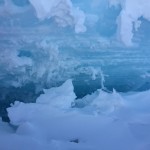
I went on a short walk today, out to the “Obs Tube”, on the sea ice out in front of McMurdo.  This is a steel tube set into the ice, that penetrates through to the water below.  At the bottom of the tube is a section that has windows, and a little seat, so you can sit down there and look around at whatever happens to be nearby.

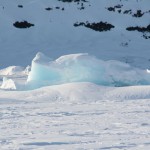
If you’re really lucky you can see a seal swim by… no such luck for us today.  We did see little fish, tiny jellyfish, and some cool ice formations.  I look forward to going back again, to look some more!

Video on youtube:  http://youtu.be/aWN0lr4DRyk

Mounting the Gondola

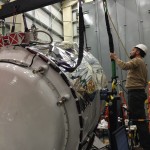
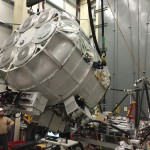
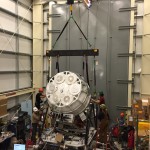
Yesterday we took a big step forward… we lifted the cryostat (which was sitting “medium cold”, at about 80 Kelvin on the inside) from its floor stand up onto the gondola, where it sits for flight.  The cryostat, as you can see below, is rather large… it weighs maybe 2500lbs when full, with electronics mounted, etc.

The lift was successful, and today we prepare for another big event, the first liquid helium transfer, which should take place tomorrow if all goes well.  Onward and upward!

Pressure Ridge tour…

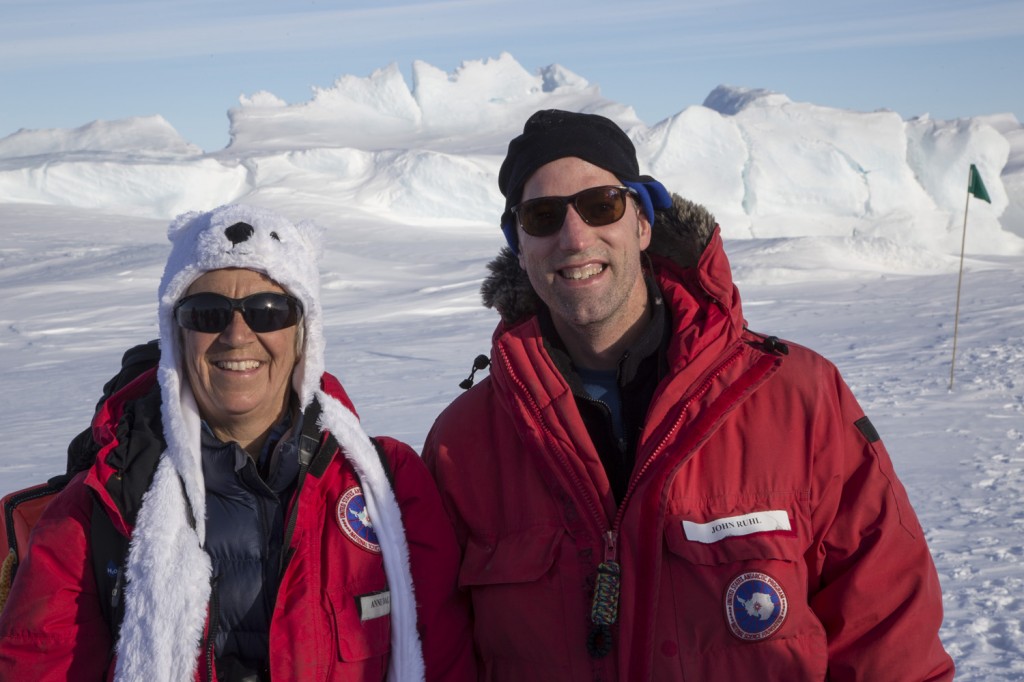
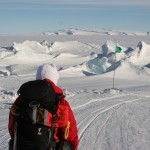
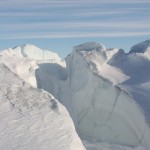
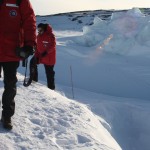
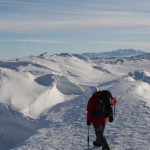
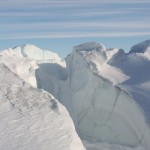
Last night I was lucky enough to go on a tour of the “pressure ridges” near New Zealand’s Scott Base.    These are “waves” in the ice shelf and the annual sea ice where they are being pushed up against Ross Island;  the ice buckles in places, making a wonderful place to hike.  Of course, you have to be careful not to fall into a crack… so we are only allowed out there in guided tour groups.  Our guide was Anne Dal Vera (also known around here as “LDB Anne”, since she works with us out at the LDB site), who knows her way around ice.  After all, she was a member of the “Antarctic Women’s Expedition”, the first group of women to ski to the South Pole.  They arrived in January of 1993… and coincidentally, I was at the South Pole working on my PhD thesis project then, so I had already met Anne!  Here’s a picture of the two of us, last night, on the pressure ridge tour.

pressure_ridges_20_JRandAnn

We started the tour by gathering outside the McMurdo galley, where 10 of us (plus Anne) piled into a van for the short drive over to Scott Base.  The Kiwi’s put out the flagged trail through the pressure ridges and maintain it, so we go there as their guests.  (Thanks, New Zealand!)

From a high hill on the road over to their base, Anne explained how the pressure ridges form, and pointed out the line that separates the annual ices (which breaks up and flows out to sea every year, and is about 5-10 feet deep) and the ice shelf (which is 60-100 feet deep).  LDB and the William’s Air field (aka “Willy”) are both on the ice shelf.

We parked in front of Scott base, radioed back to “Mac Ops” that we were about to head out for our hike, and stepped out over the “tidal crack” that forms between the “fast ice” (which “sticks fast” to the shore) and the sea ice (which rides up and down on the tide) onto the annual ice.  From there we walked a flagged route through a fantastic scenery of broken, pushed-up ice sculptures, out to the “pressure ridge waves”.

Along the way, we passed a seal “access” hole, which they use to come up for air and to rest.  They can apparently stay underwater for around 45 minutes at a time, and range a mile away from the hole while they hunt… somehow they can make a beeline for the hole, knowing right where it is, when they want to come up.  We passed a few seals, including a mother and her month or two old pup, resting a little ways from the hole.

Here’s my photo gallery of this fantastic hike… enjoy!


Every highbay needs a gondola…

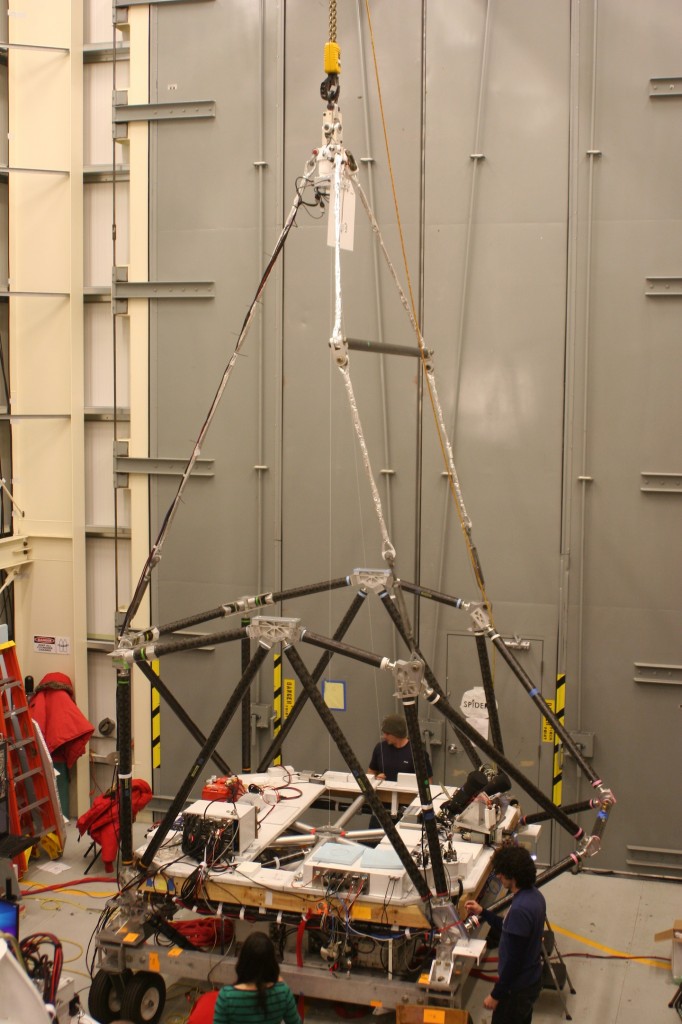
We have a great highbay down here.  This is where we’re assembling the payload, where we spend all our time working.  There are three things you need for a ballooning highbay:   a big room with a super-high ceiling, a nice big crane, and some huge doors that let you take the assembled payload outside.  Here’s a picture of our gondola hanging from the highbay crane here.

IMG_0896_gondola_small

You can see the 5-ton crane hook at the very top;  everything below that is our gondola.  It hangs from three kevlar (light and strong) ropes.  The black tubular frame of the gondola below those is made of carbon fiber – light and strong, again.  We’ll mount the dewar on that structure, soon.

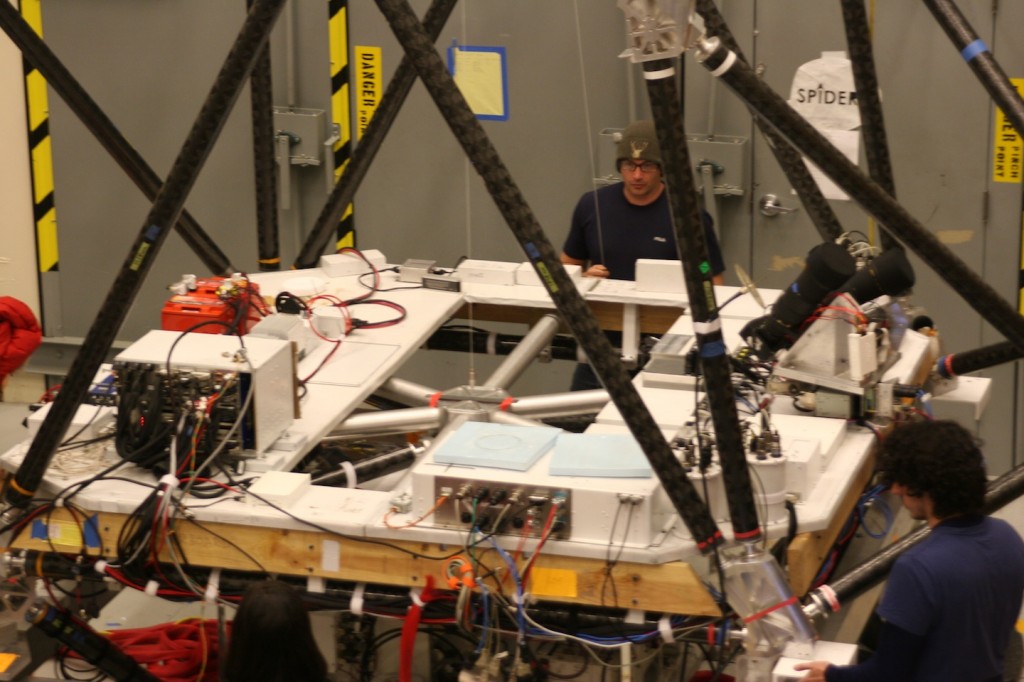
The white “floor” of the gondola has a lot of electronics and computers on it.  They handle all the pointing motors and sensors, store the data, and talk to the NASA systems that we communicate with either via a direct radiolink or via satellites.

Here’s a picture of the floor, with all the electronics boxes, being set up, cabled, turned on and checked out.

IMG_0897_gondola_floor_small

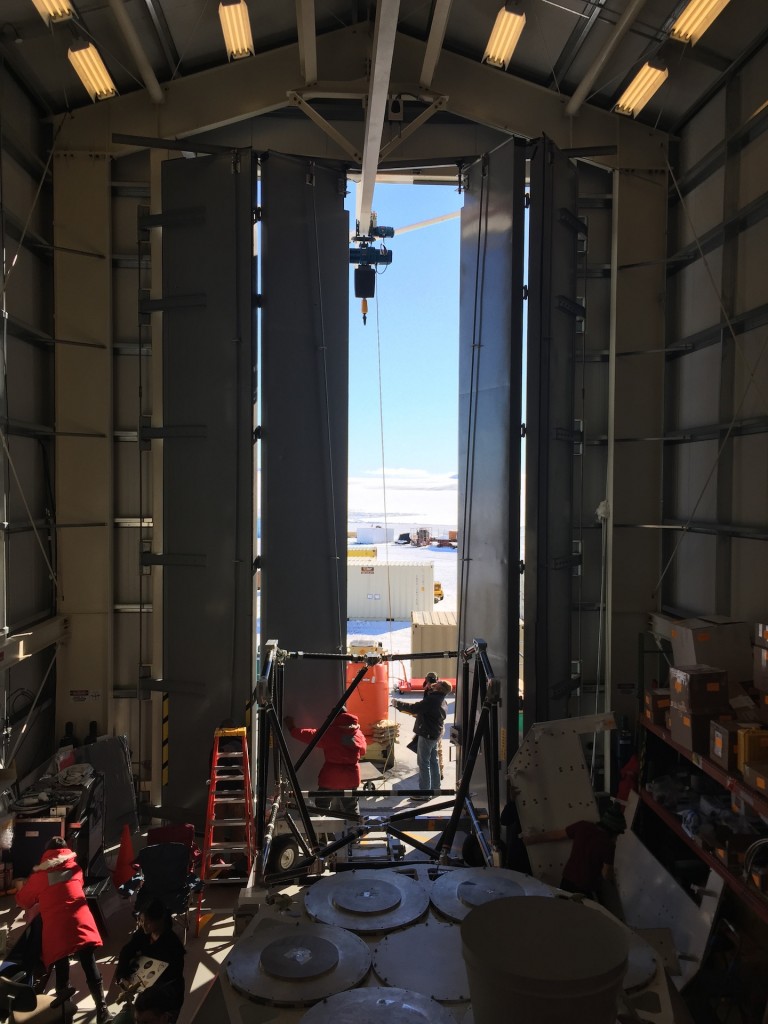
The doors to the outside are really, really big.  It takes two people, or one super strong person, to open them.  Here’s a picture with one of them open, as we brought some equipment in from outside.


IMG_4825_small

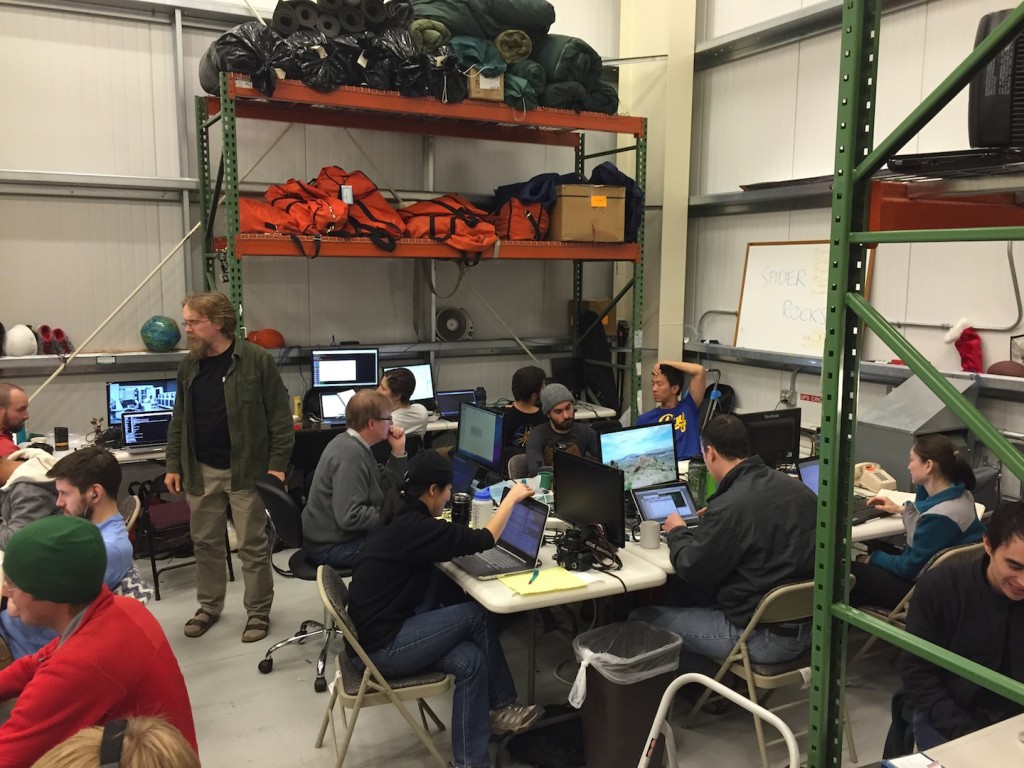
It’s been anywhere between about 0 and 15F outside so far;  opening those doors cools things down inside the highbay in a hurry!  As you can see in this photo, we have the dewar set up right in back of the gondola.  This picture was taken from the “mezzanine” where we have our “office area” set up.  Here’s a picture of the team in “analysis” (and email/facebook/whatever) mode… this was a rare time when most of us were up there!

IMG_4877_mezzanine_small

The orange bags on the high shelf in back have some of our “Extreme Cold Weather” gear in it;  the green and black bags above those are sleeping bags and pads, in case the weather gets so bad out here that we can’t get back to town.  In “Condition 1” no one is allowed to leave the building.  We’ve had great weather so far, but we’ve heard from the NASA weather guy that something might hit us tomorrow… we’ll just have to see.

Finally, not really related to highbays, here’s a youtube video of the galley out here, just before I left one recent evening…

All for now!


A visiting seal…

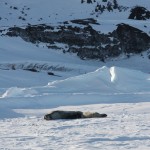
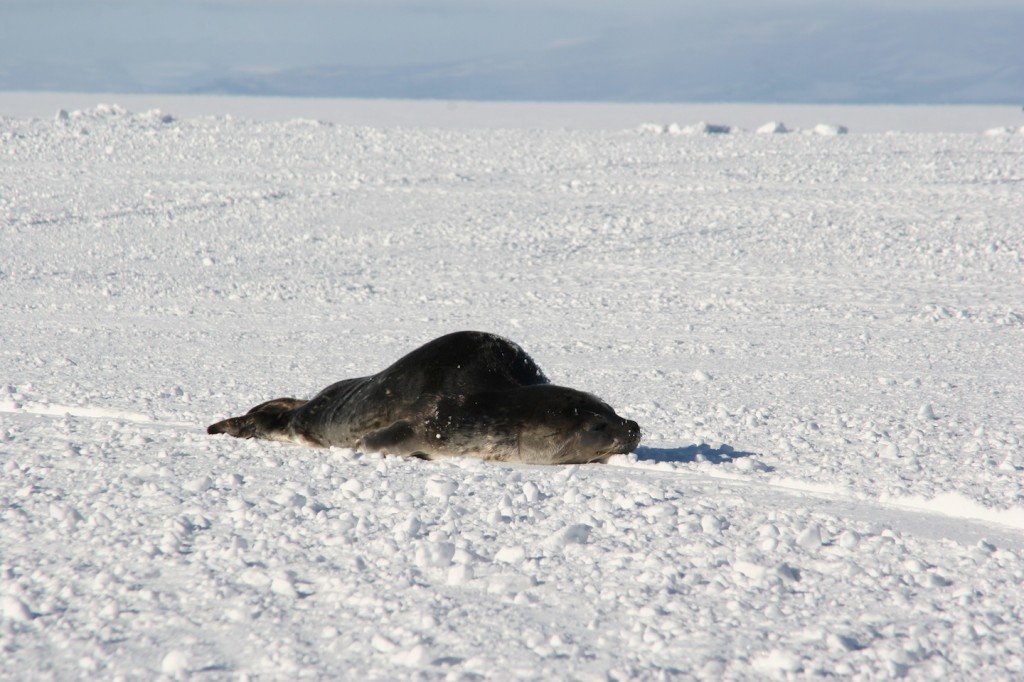
We were quite surprised today when we arrived out at LDB (the ballooning camp) to find a Weddell seal making its way towards us.  It (I can’t tell whether it’s a he or a she) was coming from the northeast, heading toward McMurdo… maybe making a tour around Ross Island?

IMG_0895_small


Here’s are links to three videos, if you want to see him scooting along on his long journey…

http://youtu.be/rjd3bwwS4xI

http://youtu.be/IIvRe7INVrM

http://youtu.be/a7cjoK8yYkE

Wish him luck!

Heading back to McMurdo…

Every day we ride from McMurdo to LDB (the Long Duration Balloon facility) out on the Ross Ice shelf.  It’s about a 30 minute drive at 20 miles per hour… so slow because they don’t want to tear up the packed snow – they’re trying to preserve the roads.  The 7:30am shuttle out, and the 5:30pm shuttle back, are both done with big vehicles that can take lots of passengers, since there are so many of us working out here.  During the rest of the day we can catch regular van shuttles.

I posted a video on youtube showing what things are like here, as we head out to the “bus” for the ride back to dinner;  follow this link:

http://youtu.be/RHm6gzyhaEo

Assembling the cryostat

When I arrived, other team members were already here and had unpacked and organized the lab, and started the instrument assembly.  There are two main parts to our payload:  the “cryostat”, which contains the telescopes and detectors, and the “gondola”, which points the telescopes in the right direction and handles data archiving and communications with the ground.

The early focus was on getting the cryostat together, because it takes a long time to cool it down, and we wanted that to begin as soon as possible.  The “camera team” had already assembled the six millimeter-wave cameras… which  slide into six “ports” in the large cryostat that cools them with liquid Helium.

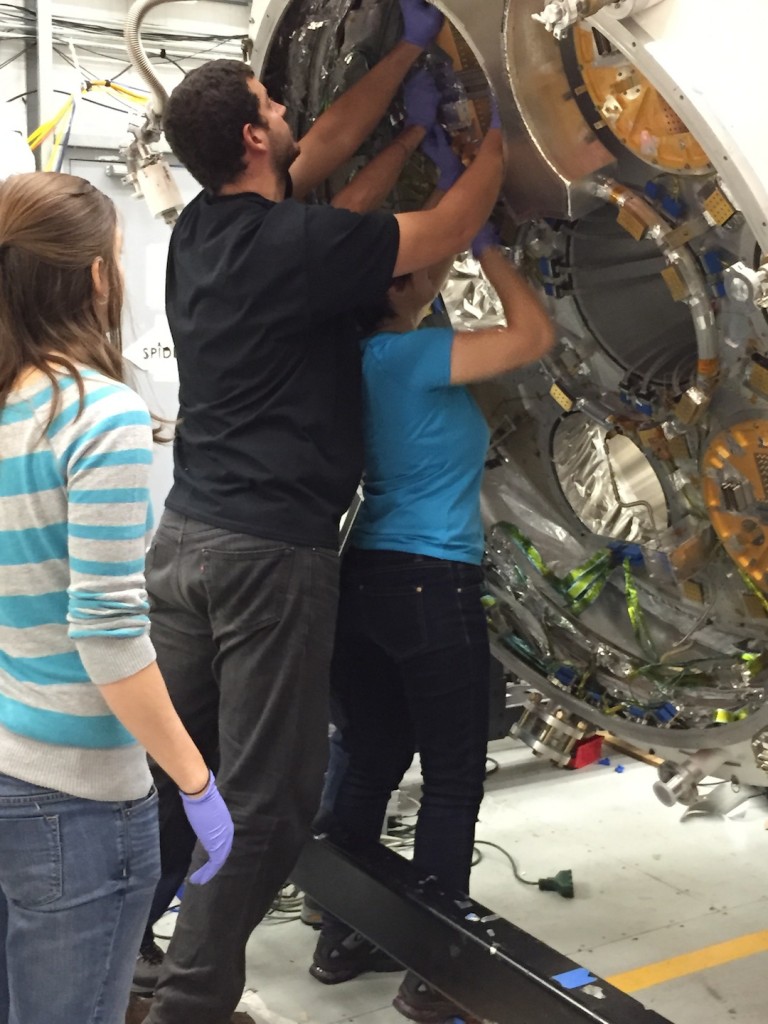
Here is a picture of Lorenzo (Caltech postdoc) and Sasha (Princeton grad student) plugging in the fourth camera.
IMG_4720_small


Putting them all in involves a lot of electrical connections, screwing down copper thermal straps, taping down wires, etc.  The next picture shows the bottom of the cryostat with all six cameras plugged in.
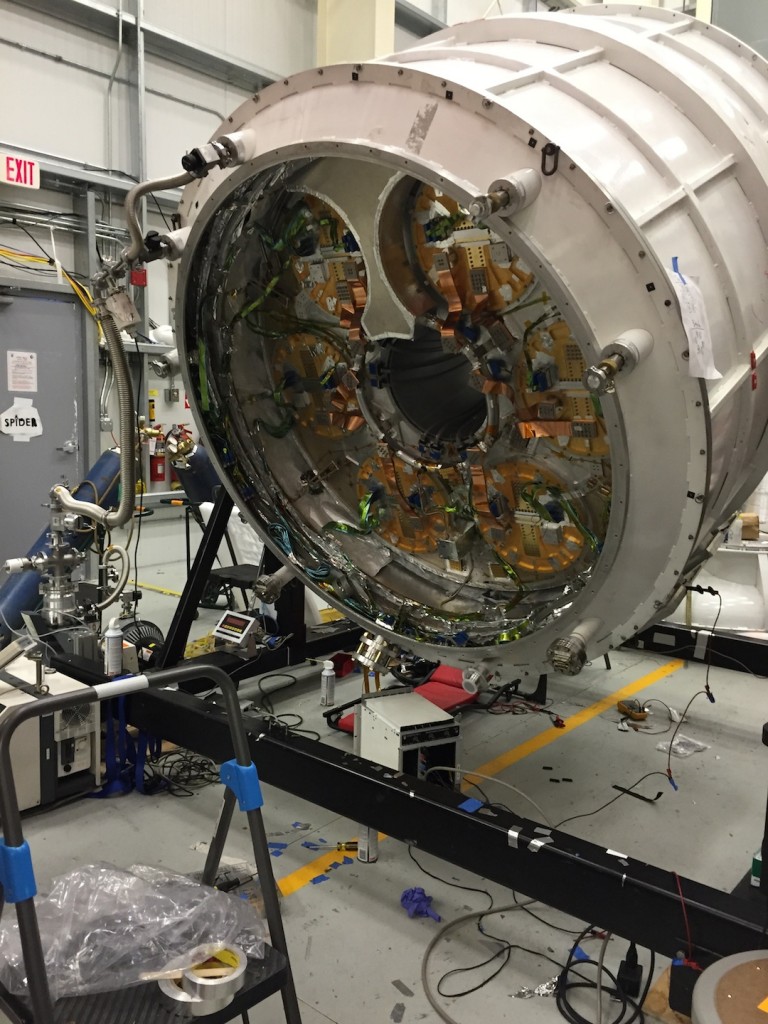
IMG_4725_small
The center “hole” in the cryostat looks like it could take another camera… we use it to send electrical wires from the bottom of the cryostat up to the top.  We often thought about mounting a 7th camera in there, but in reality we’re right near the payload limit, and we can’t have another 120lbs of camera, plus more electronics!

While the camera team was busy putting those in, our group from Case was working hard getting our sapphire “halfwave plates” (optical elements that change our polarization sensitivity) assembled and installed on the other end of the cryostat.  The single-crystal sapphires used for this are about 13″ in diameter, and a few millimeters thick… and cost about $10K each!   Here’s a picture of Johanna (Case graduate student) assembling one of our rotation mechanisms, which rotate the waveplates inside the cryostat, at 4 Kelvin.
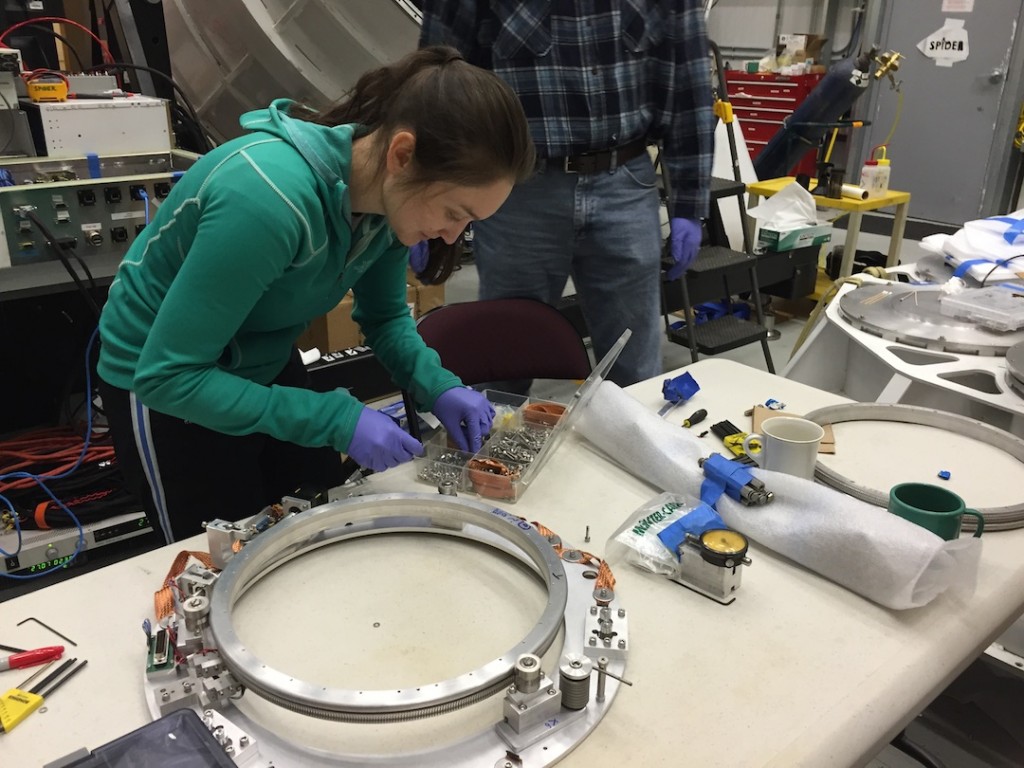
IMG_4710_small

It turns out that it’s been tricky to get those rotation mechanisms to work well, so we’ve implemented a few tricks just for this cooldown;  we’re keeping our fingers crossed, hoping everything works well.

Here’s a picture of the top of the cryostat, which is the “sky side” of all the cameras, after we got all the waveplates installed.  The dark waveplates are used for the cameras that are sensitive to light that is 2mm in wavelength;   the white-ish ones are for the cameras that are sensitive to 3mm wavelength light.  The color difference is due to the different materials we used to antireflection coat the (otherwise very reflective) sapphire at those two wavelengths.
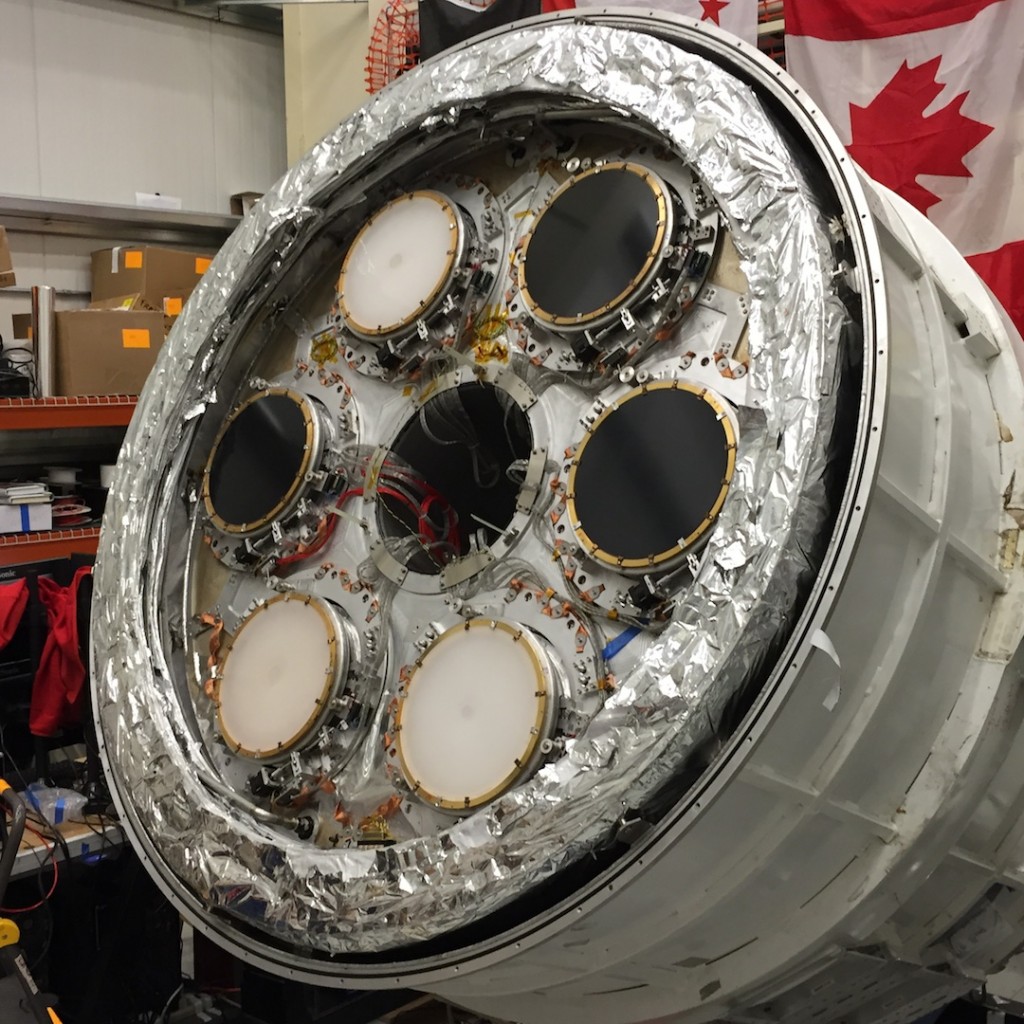
IMG_4764_small

After all that work, there was a long, 2-day effort to close up the cryostat so we can pump out all the air and then cool it down.  It turns out that we have to do a bunch of cycles where we pump out the air, then fill up the cryostat with nitrogen gas, pump again… and repeat.  This gets rid of water vapor and any helium gas in the vacuum space of the cryostat, which is important in helping us achieve our hoped-for 20-day lifetime for the liquid helium bath, so we can get lots of data once we launch.

That’s where we are now… pumping and purging… with gondola assembly going on as well, but that’s another post!
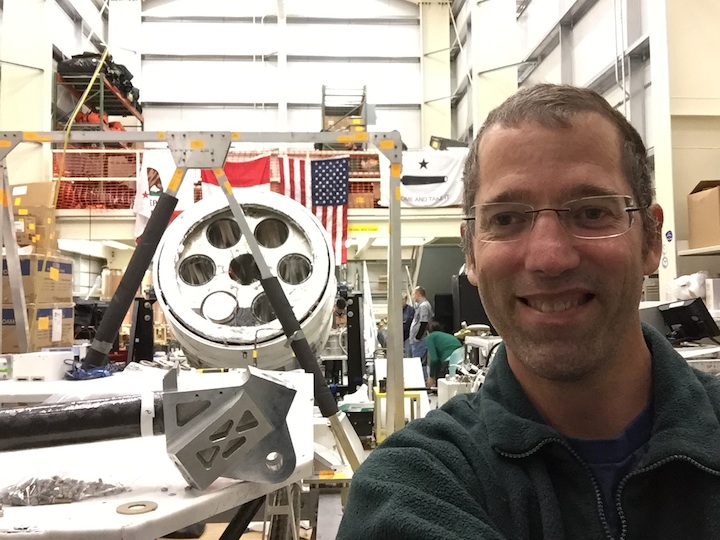
IMG_4716_small


Flying to McMurdo

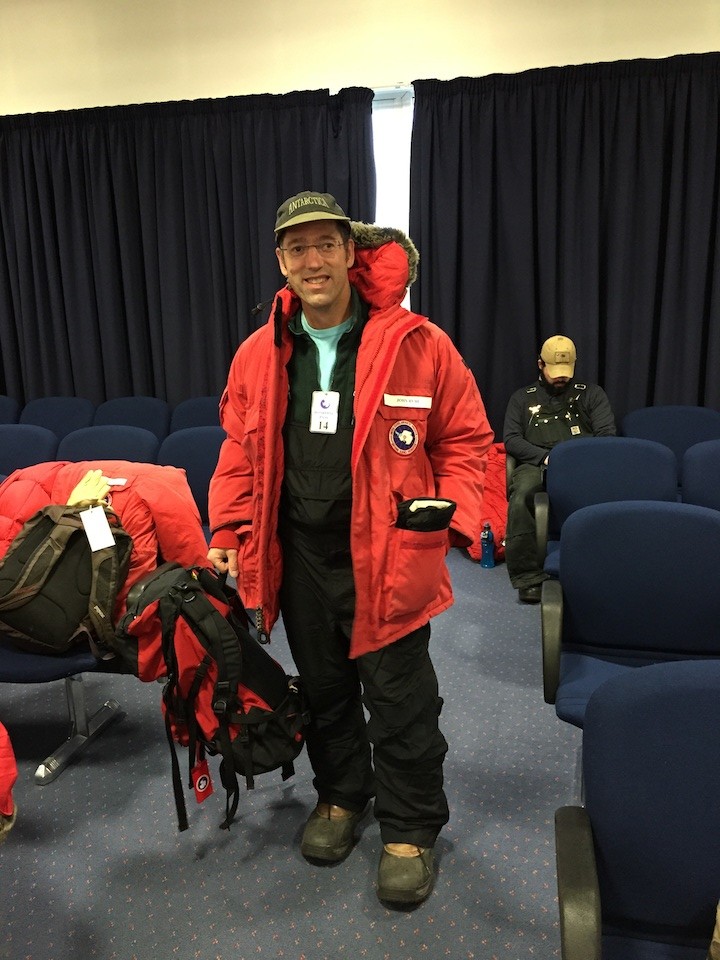
On Wednesday, January 5, I woke up in time to report to the CDC at 6am;  we put on our warm clothes, grabbed our bags, were “weighed in” (so they could balance the cargo load on the plane), and then checked in for our flight.  Here I am after checking bags, waiting for boarding time.

IMG_4659_small

We went through all the same screening that you go through in a regular airport, then took a bus out to the plane.  We’re required to wear or carry all of our “extreme cold weather gear”, just in case the plane has to make an emergency landing somewhere cold.

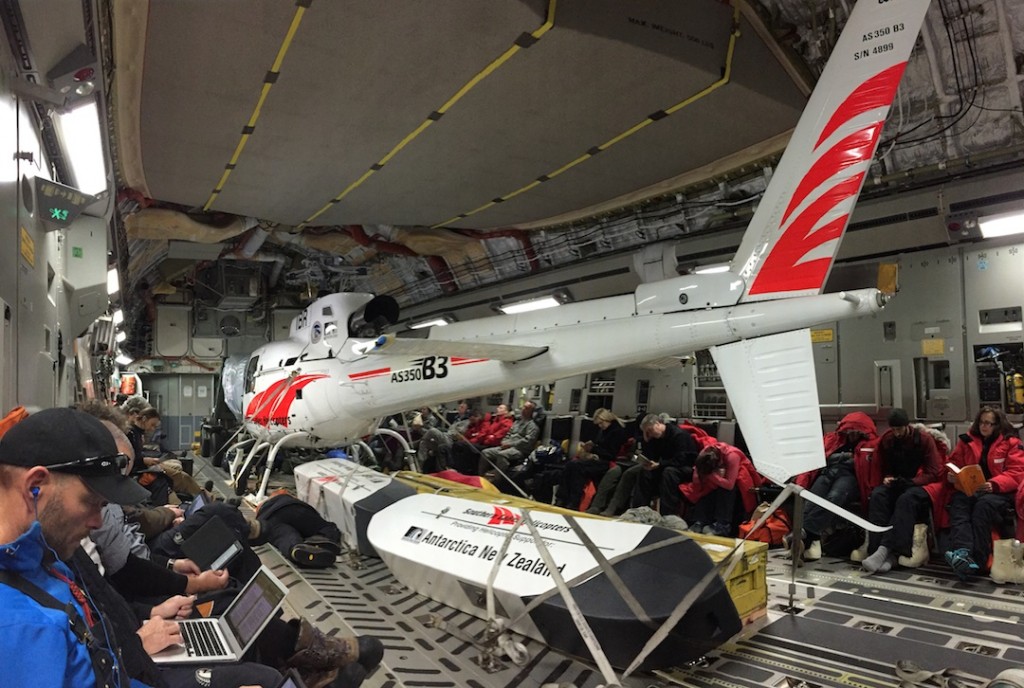
This time of year a lot of the flights are on US Air Force C-17’s, which you can learn about from the C-17 wikipedia entry.  It’s a very cool cargo plane, which you can see from this picture of the interior… we flew with a helicopter (for the New Zealand Antarctic program) on board!

IMG_4667_small

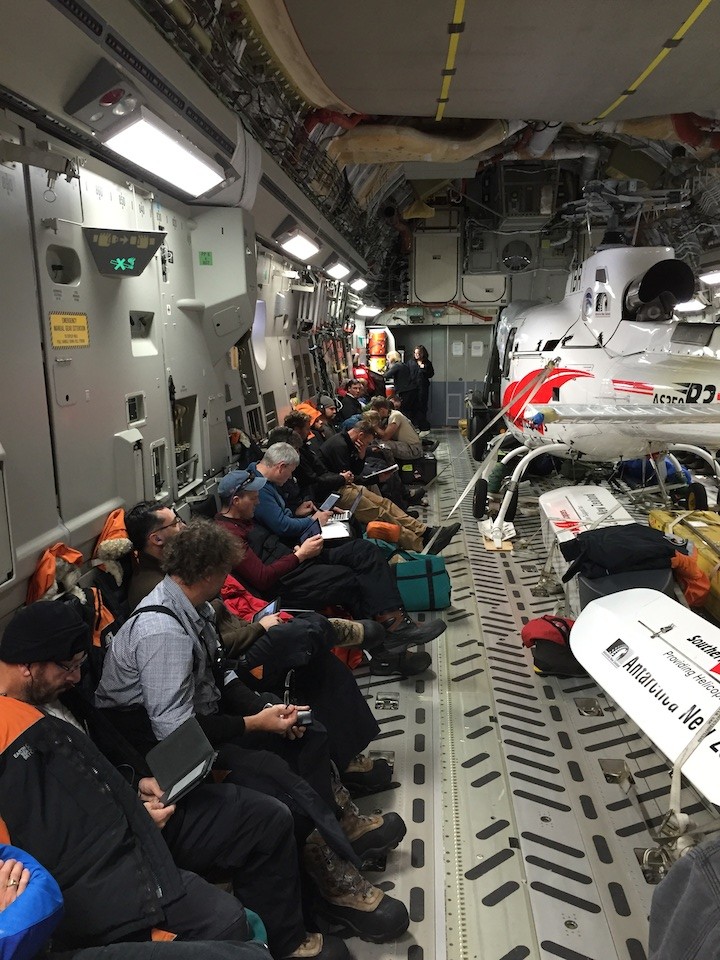
We’re sitting on “jump seats”, where paratroopers sit when they jump out of the plane.

IMG_4670_small


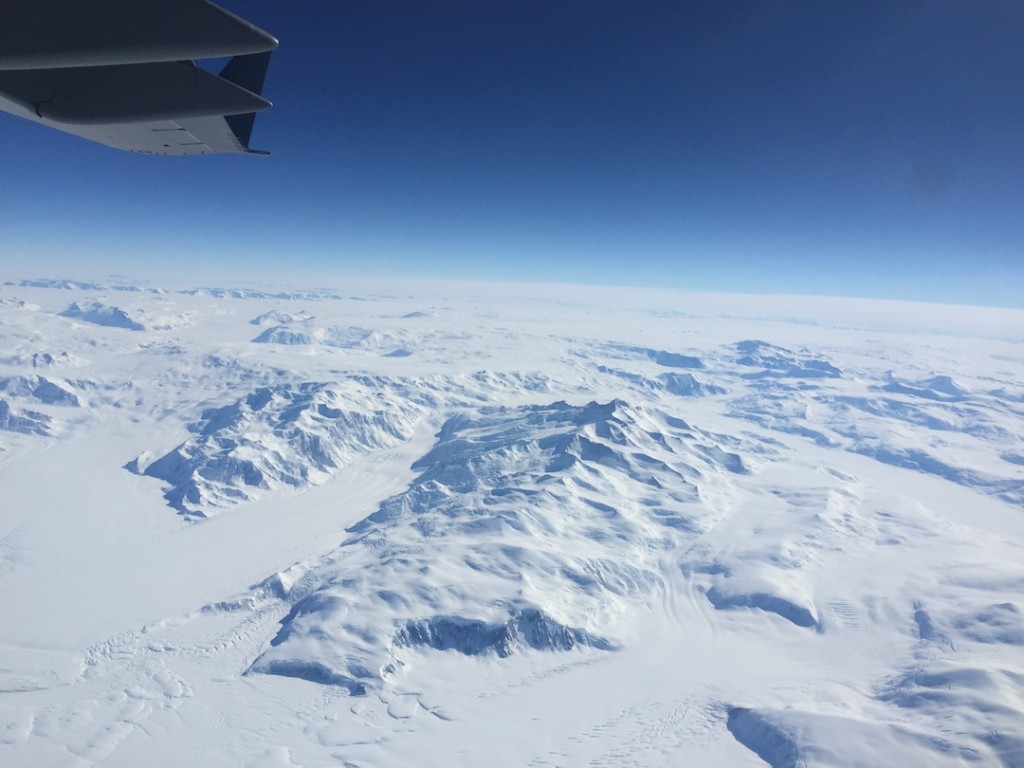
Near the end of the flight, as we got over Antarctica, we could see some nice scenery through the (very few, very small) windows…

IMG_4679_small

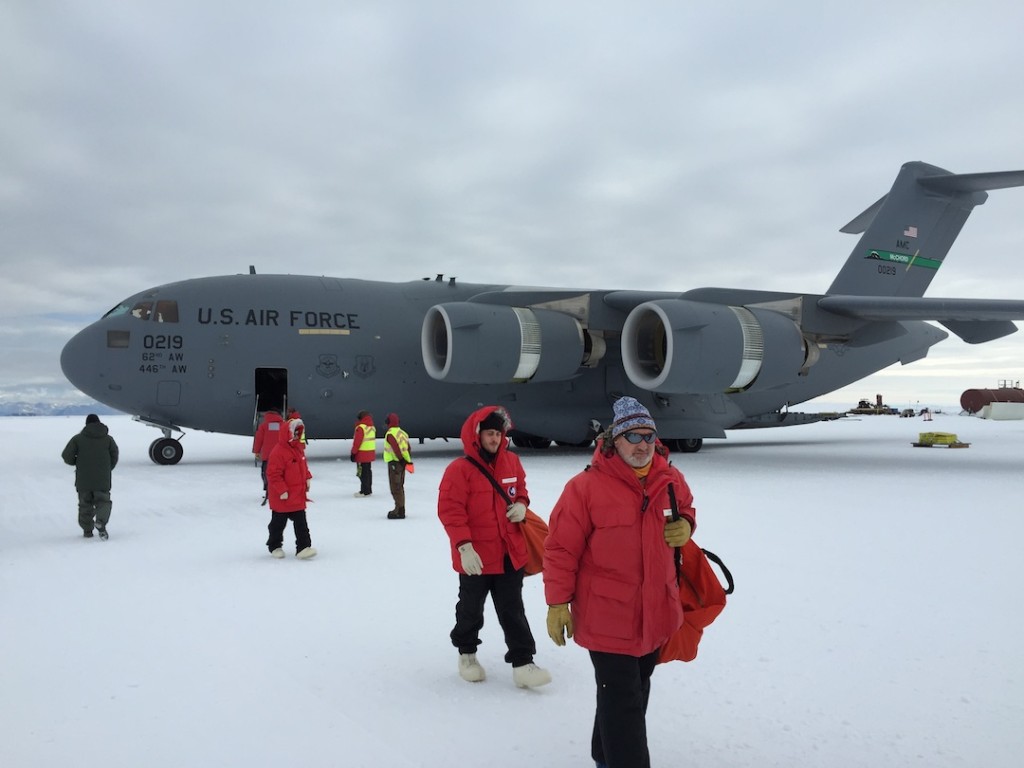
After 5 hours of flying, we landed at the “Pegasus” ice runway, which is on the permanent ice shelf a little ways away from the actual base.  Here’s a picture of the C-17 as we got off, before we took the 40 minute “bus ride” into town.  Note the wheels, which require hard ice to land and take off – this aircraft can’t land on soft (or even hard) snow.

IMG_4688_small

That’s all for now, more later!


Antarctica 2014 – Spider in McMurdo

This is a belated start to posting from our 2014 campaign…

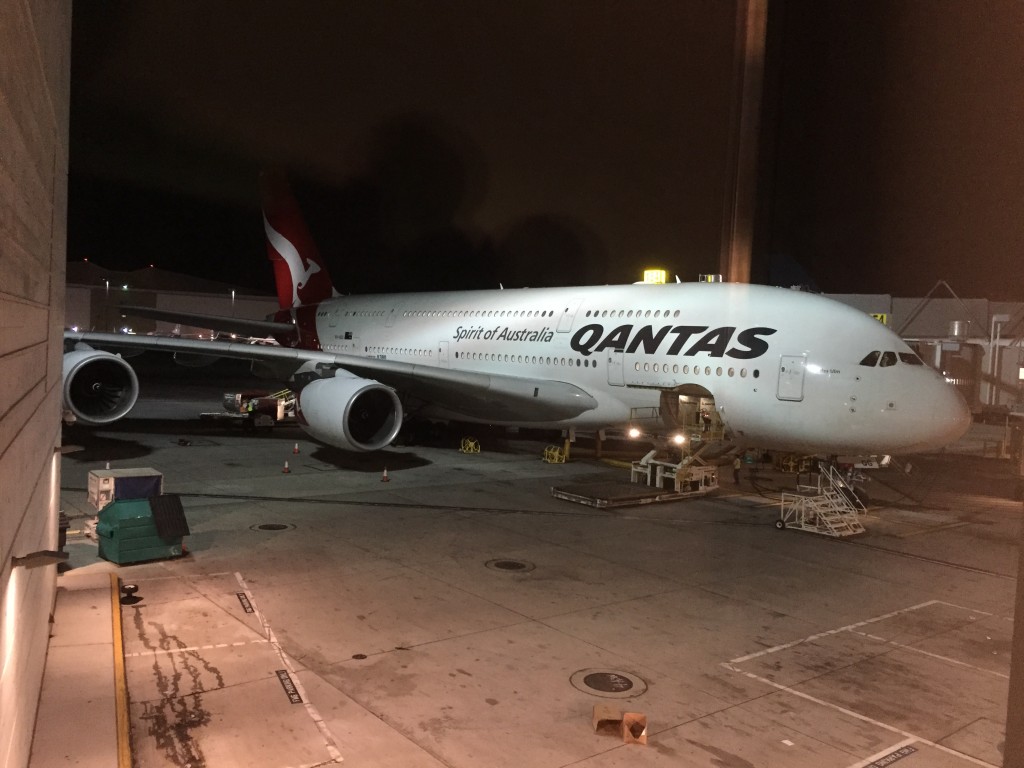
I left the US on 11/1, the day after Halloween.  My itinerary took me to Dallas, then Los Angeles, then Sydney (Australia), and finally to Christchurch, New Zealand.  Here’s my giant (double decker!) plane for the 15 hour flight from LA to Sydney…

IMG_4577


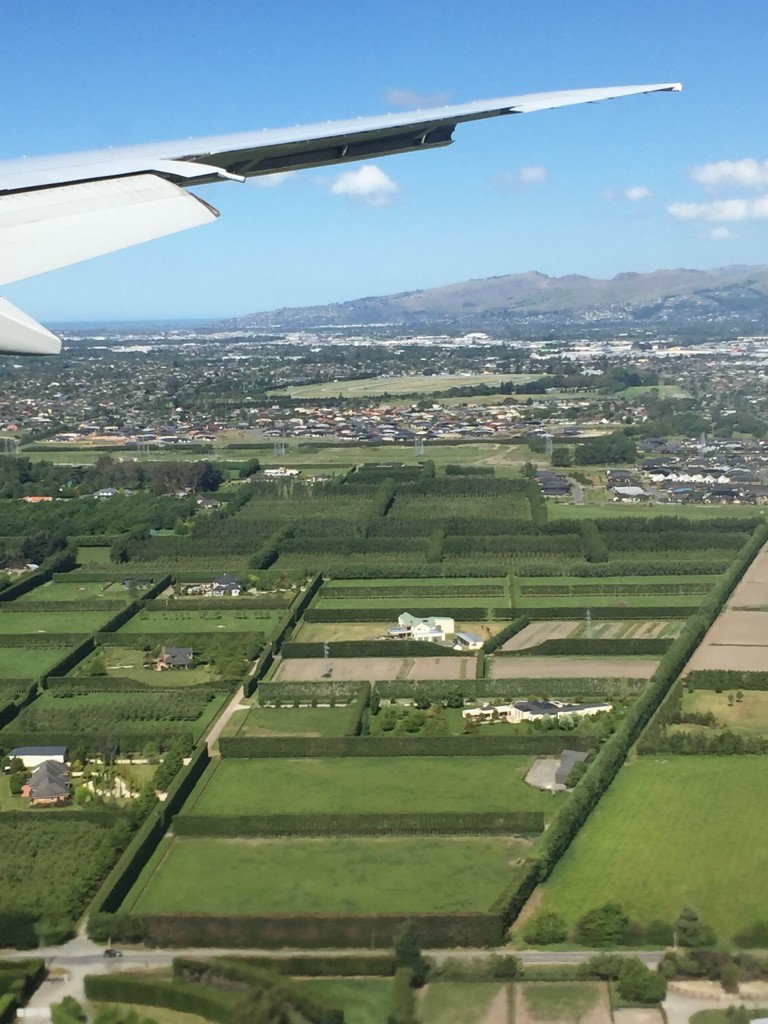
… and here we are dropping into the well-manicured city of Christchurch, NZ, about 33 hours after leaving Cleveland…  Note the proliferation of hedges!

IMG_4620

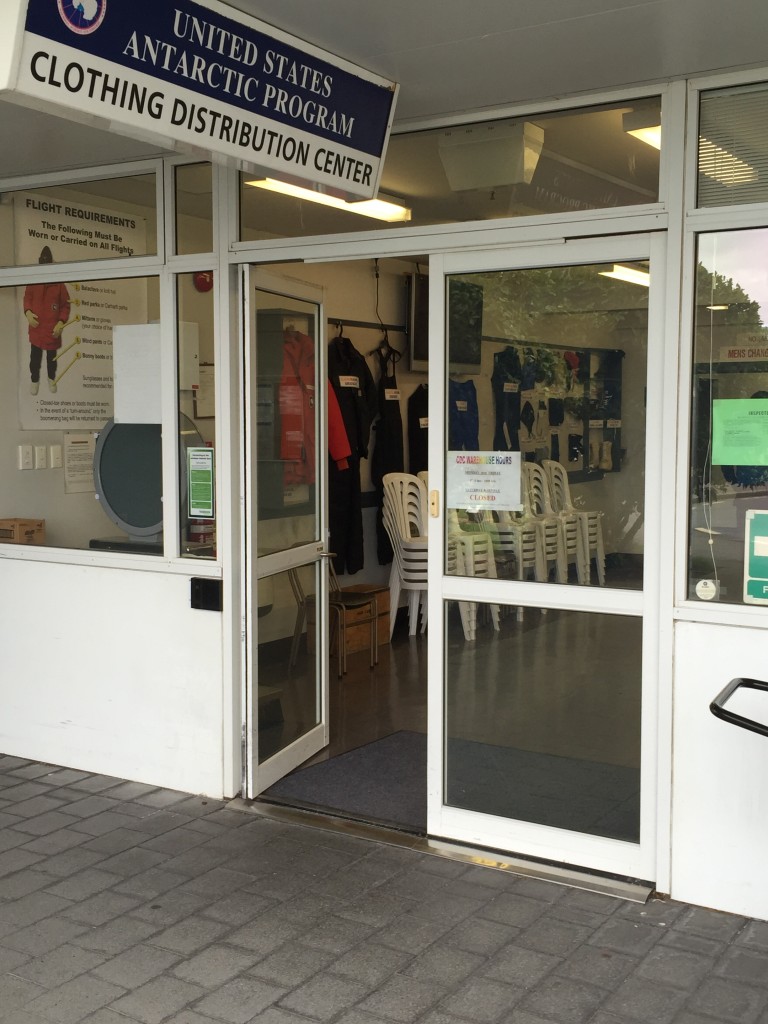
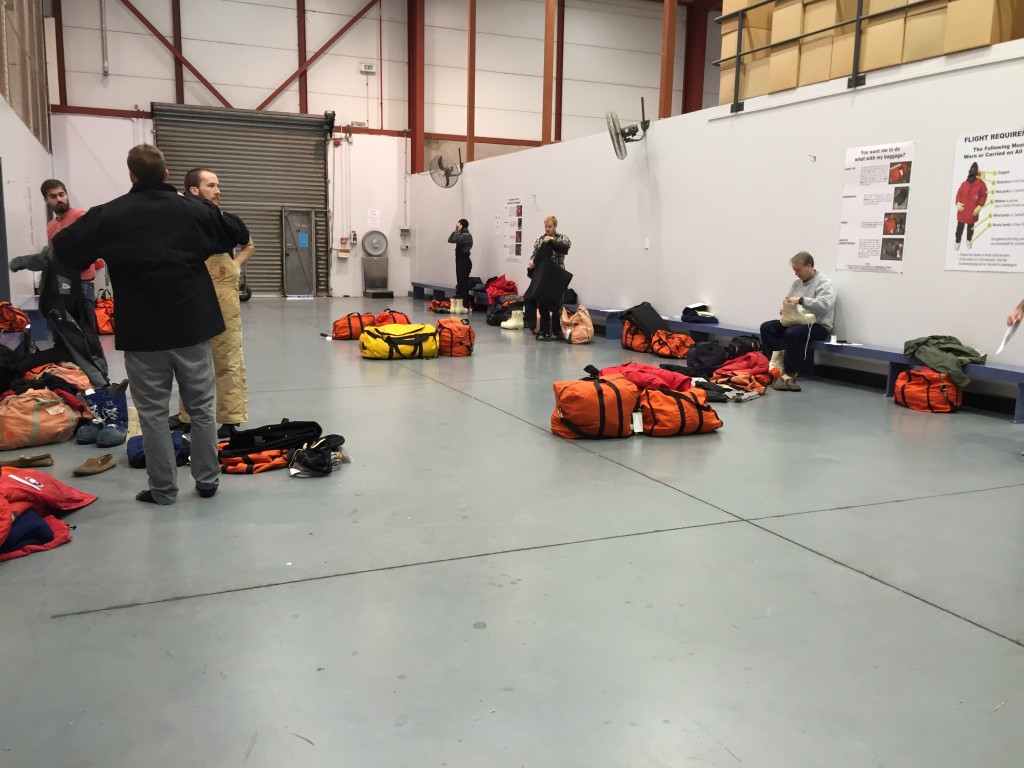
The next day, we got our “Extreme Cold Weather Gear” at the US Antarctic Program’s “Clothing Distribution Center”.

IMG_4627


Here are a few of us trying on all the gear, which comes in two orange bags per person…

IMG_4629


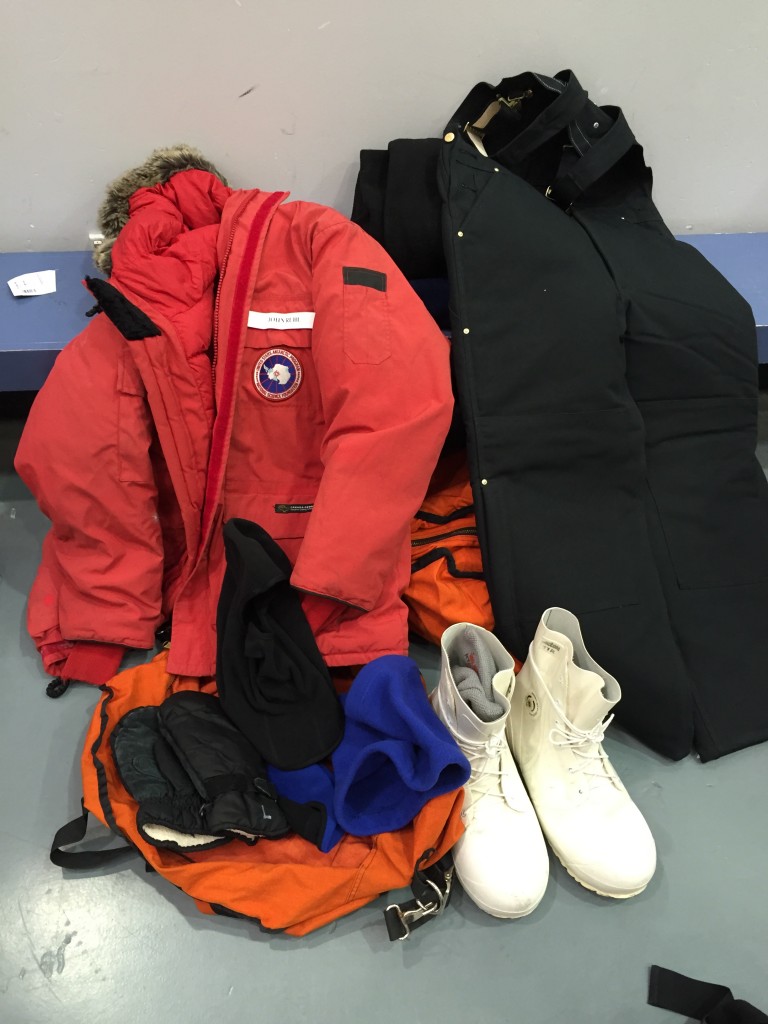
Here’s my kit, before I changed out the boots and pants for a slightly different type.  The “Big Red” parka, a “Little Red” (uninsulated) wind jacket (not shown), some insulated pants, and super-warm boots… plus a bunch of warm long underwear (tops and bottoms), a fleece jacket, warm socks, and various gloves, hats and a neck warmer.  Enough to stay warm, even down there (we hope!).

IMG_4630


Next up… our flight to Antarctica, which was one day later… but that’s another post!